
Why Restoration Photos Decide Who Gets the Job
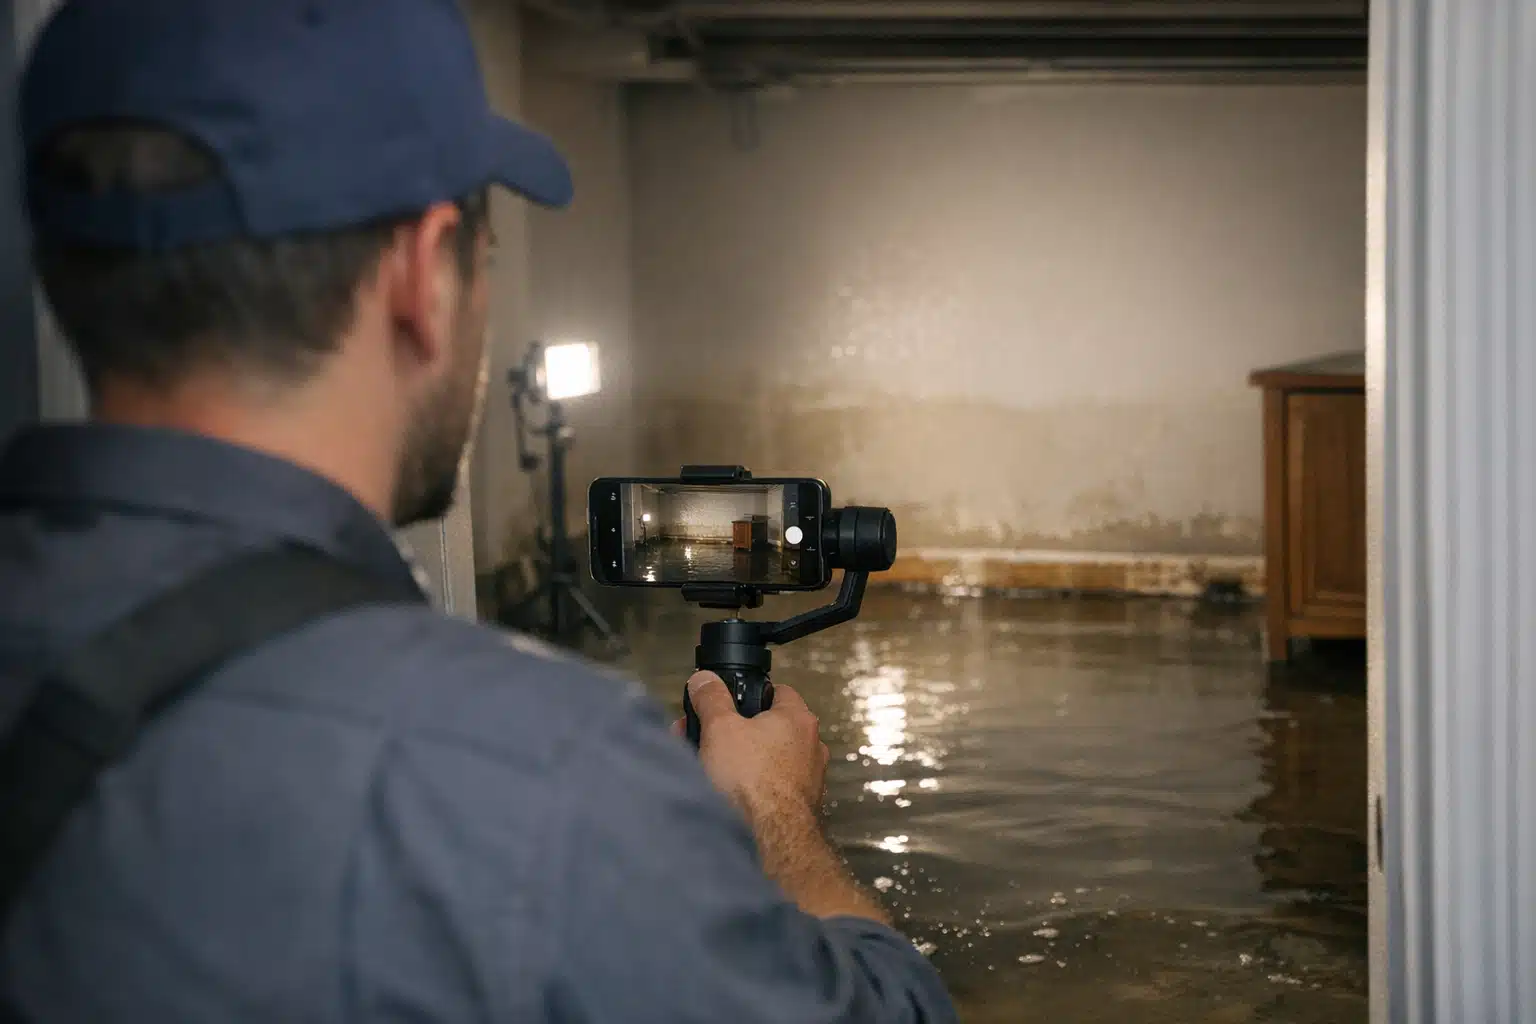
A homeowner staring at a flooded basement at 2 a.m. trusts proof before they trust promises. Strong before and after photos restoration marketing turns a chaotic mess into visible, believable results. That is what pushes a nervous caller to pick your crew over three competitors.
Most restoration companies lose this advantage on the truck. Technicians shoot blurry, poorly lit, or half-finished photos that no one can use for the website or estimates.
This post gives your field team a repeatable photo system. You get a checklist for angles, lighting, labels, privacy, and proof shots that feed your website, Google Business Profile, and sales estimates.
What Makes a Restoration Photo Convert
A converting photo answers one question: can this crew fix my exact problem? Generic stock images fail because homeowners cannot see themselves in them.
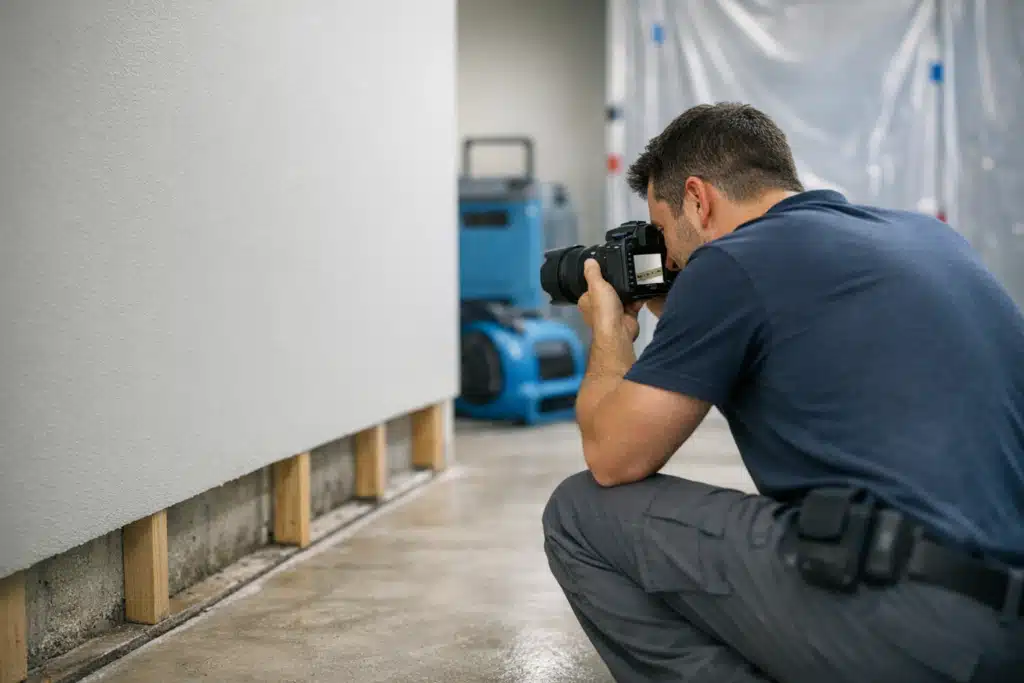
Restoration marketing differs from general home services here. A kitchen remodel photo sells style. A water damage photo sells relief from fear.
Three elements separate a marketing-grade photo from a phone snapshot:
- Contrast — the same spot shown wrecked, then restored
- Proof of work — meters, containment, equipment that shows science, not luck
- Clarity — sharp focus and even light, no dim corners or motion blur
Miss any one and the photo becomes decoration. Hit all three and it becomes a sales tool.
The Restoration Job Photo Checklist for Technicians
Give your crew a fixed routine. A restoration job photo checklist removes guesswork and keeps every project marketing-ready.
Step 1: Shoot the Before Photos First
Capture damage before touching anything. Once demo starts, the “before” is gone forever.
- Wide shot of the full room from the doorway
- Mid shot of the damaged area from six feet away
- Close-up of the worst point: mold, water line, or char
- One angle that shows scale, like a soaked baseboard next to furniture
Rule of thumb: three photos per damaged zone, minimum.
Step 2: Match Your Angles for the After Shot
The after photo must copy the before angle. Same doorway, same height, same framing.
Mismatched angles kill the comparison. A homeowner cannot judge results if the two shots show different corners of the room.
Tip: Have techs stand on the same floor tile or note a landmark like a window frame. Consistency makes the transformation obvious.
Step 3: Fix the Lighting
Dark photos read as sloppy work. Bright, even light reads as careful work.
- Turn on every room light before shooting
- Bring a portable LED work light for basements and crawlspaces
- Shoot with the light source behind you, not behind the subject
- Avoid flash on wet surfaces; it creates glare that hides detail
Step 4: Capture Proof Shots
Proof shots are the part most crews skip, and they carry the most weight with adjusters and homeowners.
These photos show your method, not just the result:
- Moisture meter readings — one high reading at intake, one dry reading at completion
- Containment barriers — plastic sheeting and zipper walls during mold work
- Air movers and dehumidifiers — equipment placed and running
- Thermal images — hidden moisture behind walls, if you own the camera
Proof shots justify your price and reduce insurance pushback. They show a homeowner why your bid beats the cheap crew down the road.
Step 5: Handle Labels and Privacy
Every photo set needs a job number or address code, kept in your internal system only.
Before anything goes public, scrub personal details:
- Blur family photos, mail, and framed documents
- Crop out house numbers and vehicle plates
- Get written permission before posting any recognizable home
- Never show a homeowner’s face without a signed release
Privacy protection is not optional; it protects your reputation and keeps you clear of complaints.
Turning Photos Into Website and GBP Wins
Captured photos sit useless unless they reach the right places. Route every job set to three destinations.
Your Website Gallery and Service Pages
Place before-and-after pairs on the matching service page. Water damage photos on the water page, fire photos on the fire page.
Rename image files before upload. “water-damage-basement-denver.jpg” beats “IMG_4471.jpg” for local search.
Add a one-line caption with the city and damage type. Search engines read that text and match it to nearby homeowners.
Google Business Profile Posts
Your Google Business Profile rewards fresh photos with better local ranking. Upload new job photos weekly, not once a year.
Profiles with regular photo activity earn more calls from the map pack. A steady stream signals an active, working company.
Post one before-and-after pair per week tied to a real job. Add the neighborhood name in the description.
Review Requests With Visual Proof
Send the homeowner their own before-and-after pair when you ask for a review. Seeing the result reminds them how far the job came.
This lifts review response rates and gives you a recovery tool after any negative feedback.
How Photos Raise Your Estimate Win-Rate
Photos close deals before you send a number. A homeowner comparing bids picks the crew that already proved competence.
Attach a small gallery of past similar jobs to every estimate you send. Match the damage type to the prospect’s situation.
Here is the pattern we see with restoration clients who adopt a photo routine:
- Estimates with matched before-and-after proof close at higher rates than text-only bids
- Insurance-referred jobs move faster when proof shots back the scope
- Storm-season leads convert better because homeowners feel less risk during a rush
During storm surges, speed and proof win. A ready photo library lets you respond fast without scrambling.
Building the Habit Across Your Crew
A system fails if only one technician follows it. Make photo capture part of every job close-out.
- Print the photo checklist and tape it inside each truck
- Require photos before a job is marked complete in your software
- Assign one person to review and sort photos weekly
- Reward the tech whose photos land on the website or drive a review
Treat photos as a job deliverable, not a favor. When capture is required, your marketing pipeline fills itself.
Common Mistakes That Waste Good Photos
Even solid photos get lost or misused. Avoid these field errors that drain the value from your work.
- Shooting after cleanup, leaving no “before” to compare
- Storing photos on personal phones that never reach the office
- Skipping the moisture meter shot that proves the job was done right
- Posting a home without permission and risking a complaint
- Uploading dark, tilted, or blurry frames that make good work look careless
Fix these five and your existing jobs start generating leads on their own.
Conclusion
Effective before and after photos restoration marketing starts with a fixed technician routine and ends with more closed jobs. Capture matched angles, clean lighting, and proof shots, then route them to your website, Google Business Profile, and estimates. Done every job, this habit turns finished work into a steady lead source.
The Restoration Marketers helps restoration companies build photo systems, local SEO, and lead campaigns that produce measurable growth. Call or text us at 720‑885‑0749, or visit https://restorationmarketers.com to start filling your pipeline.
Sources
- Google Business Profile Help – Add photos or videos to your Business Profile
- IICRC – S500 Standard for Professional Water Damage Restoration
- U.S. Environmental Protection Agency – Mold Cleanup in Your Home