

Restoration owners waste 15 to 20 minutes on every phone call from someone who only wants a flat price for water damage cleanup. That caller has no claim, no adjuster, and no intention of booking an inspection. A well-built insurance billing page restoration website filters those callers out before they ever pick up the phone.
This post shows you exactly what belongs on that page. You get a conversion-first blueprint that sets deductible expectations, explains authorization, and screens out tire-kickers.
The result: fewer wasted calls, more claim-ready homeowners, and a higher close rate on inspections you actually attend.
Why Your Insurance Billing Page Restoration Website Matters More Than You Think
Most restoration companies bury insurance information on a generic FAQ or skip it entirely. That gap creates two problems at once.
First, homeowners who don’t understand claims call to ask basic questions your team answers repeatedly. Second, price-shoppers assume you work like a plumber and demand a fixed quote.
A dedicated insurance page answers both groups before they call. It educates the qualified homeowner and quietly repels the person who wants a $500 mold estimate over the phone.
The Difference Between General Home Services Pages and Restoration Pages
A roofing or HVAC page can lead with pricing and promotions. Restoration work runs on insurance claims, deductibles, and adjuster approvals.
Your page has to speak the language of loss, coverage, and documentation. When you write for the claim instead of the sale, the right callers self-identify.
Set Deductible Expectations Up Front
Price-shoppers vanish when they learn how restoration billing works. State plainly that most jobs are covered by homeowner’s insurance minus the deductible.
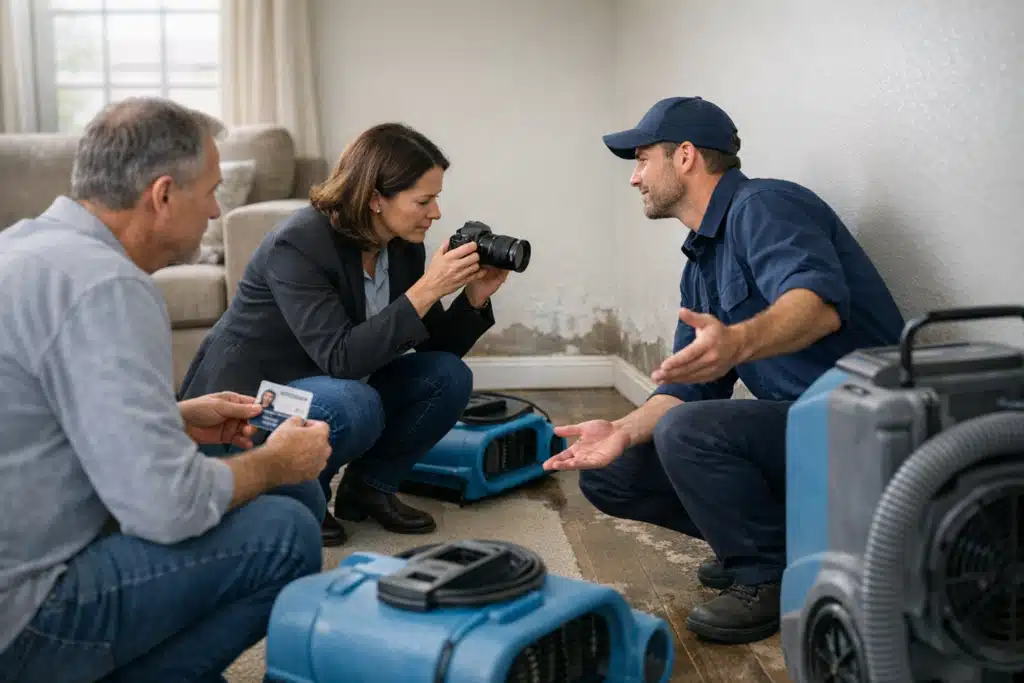
This one section reframes the conversation. The homeowner stops thinking about total cost and starts thinking about their out-of-pocket deductible.
Explain the deductible in concrete terms on the page:
- The insurance carrier pays the approved claim amount for covered damage.
- The homeowner pays only their deductible, usually $500 to $2,500.
- You bill the insurance company directly for the remaining balance.
- A large kitchen water loss can total $12,000, but the homeowner may owe only $1,000.
A homeowner who reads this understands they are not buying a service at retail. They are filing a claim, and you are the contractor handling the work.
Explain the Restoration Insurance Claims Process Page Step by Step
Your restoration insurance claims process page should map the exact path from first call to final payment. Homeowners in a panic want to know what happens next.
Lay it out as a numbered sequence so nobody has to guess:
- Emergency call and inspection. You arrive, document the damage, and stop further loss.
- Claim filing. The homeowner contacts their carrier; you provide photos and moisture readings.
- Adjuster review. The adjuster inspects and approves the scope of work.
- Restoration work begins. Your crew starts mitigation once authorization is signed.
- Direct insurance billing. You bill the carrier; the homeowner covers the deductible.
When homeowners see this five-step path, they stop asking for a phone quote. They call to book an inspection instead.
Clarify the Authorization to Proceed
Explain that work starts after the homeowner signs a work authorization form. Note that this document lets you begin mitigation before final claim approval.
State clearly that signing authorization is not the same as agreeing to a fixed price. Mitigation costs follow standard estimating software that adjusters recognize.
Document What You Can and Cannot Promise
Honesty here builds trust and screens out unrealistic callers. Some homeowners expect you to guarantee their claim gets approved. You cannot make that promise, and saying so protects your reputation.
Put a plain-language section on the page that states:
- What you can do: document damage thoroughly, use adjuster-accepted pricing, and communicate with the carrier.
- What you cannot do: guarantee coverage decisions or force an adjuster to approve a specific amount.
- What the homeowner controls: their policy terms, deductible, and the decision to file.
This candor filters out people hunting for a company that overpromises. The homeowners who remain are ready to move forward.
Address Timelines Without Overcommitting
Storm season creates a flood of calls, and everyone wants immediate answers on timing. Give realistic windows instead of vague reassurance.
Explain that emergency mitigation begins within hours, but full reconstruction depends on claim approval. A homeowner who understands the two phases sets fair expectations.
Break timeline expectations into stages on the page:
- Emergency response and water extraction: same day or next day.
- Drying and monitoring: three to five days on average.
- Adjuster approval: one to two weeks depending on the carrier.
- Reconstruction: begins after approval and scope agreement.
During a hail or flood surge, this section prevents the frustration that fuels negative reviews.
Add Trust Signals Specific to Insurance Work
Homeowners want proof you handle claims regularly. Generic badges do little for a person in the middle of a loss.
Include details that show real claims fluency:
- Mention that you work with all major carriers without naming exclusive partnerships you don’t have.
- Note your use of Xactimate estimating, the standard adjusters trust.
- Show IICRC certification for water, fire, and mold work.
- Include two or three short quotes from past clients about the claims help you provided.
Reviews that mention insurance handling convert better than reviews about friendly crews. Ask satisfied customers to describe how you helped with their claim.
Design the Page for Emergency Calls, Not Casual Browsing
A person with a flooded basement scans, they do not read. Your layout must move them to call fast.
Keep the phone number fixed at the top of the screen on mobile. Place a short call button after every major section.
Write Headlines That Pre-Qualify
Use headlines that speak to claim-ready homeowners. A headline like “We Bill Your Insurance Directly for Covered Water Damage” attracts the right person.
Avoid price-led headlines. They pull in the exact shoppers you want to avoid.
Track Which Calls Come From the Page
You cannot improve what you do not measure. Use a dedicated call tracking number on your insurance page.
Compare call quality from that page against your homepage. You will find insurance-page callers book inspections at a higher rate.
Measure these signals to confirm the page works:
- Percentage of callers who mention a claim or adjuster.
- Inspection booking rate from insurance-page calls.
- Average call length compared to homepage calls.
- Number of price-only questions per week.
When price-only calls drop and booked inspections rise, the page is doing its job.
Conclusion
An insurance billing page restoration website works best when it sets deductible expectations, maps the claims path, and states what you can and cannot promise. Those elements screen out price-shoppers and attract homeowners ready to book. Track your calls, refine your headlines, and watch your inspection close rate climb.
The Restoration Marketers builds conversion-first pages that turn storm-season traffic into booked inspections. Call or text us at 720‑885‑0749 to build an insurance page that pre-qualifies every lead.
Sources
- Insurance Information Institute – Understanding Your Insurance Deductibles
- IICRC – Institute of Inspection Cleaning and Restoration Certification
- Federal Trade Commission – Dealing With Flood Damage